How to Make a Balloon Arch with Latex Balloons?
Have you ever wanted to create a stunning balloon arch but felt overwhelmed? Many people wonder the same thing. I often hear from customers who want to make their events pop but are unsure where to begin.
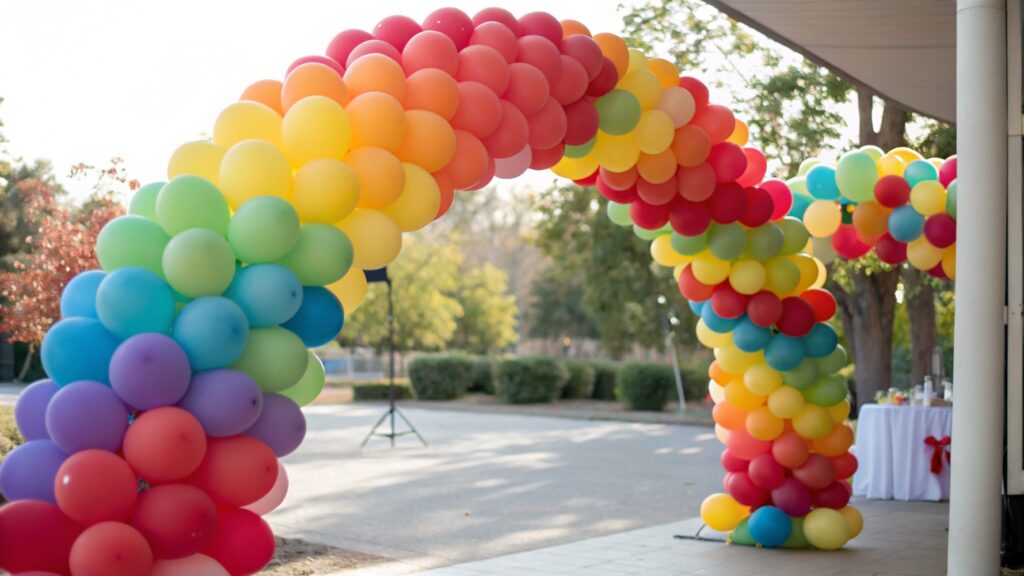
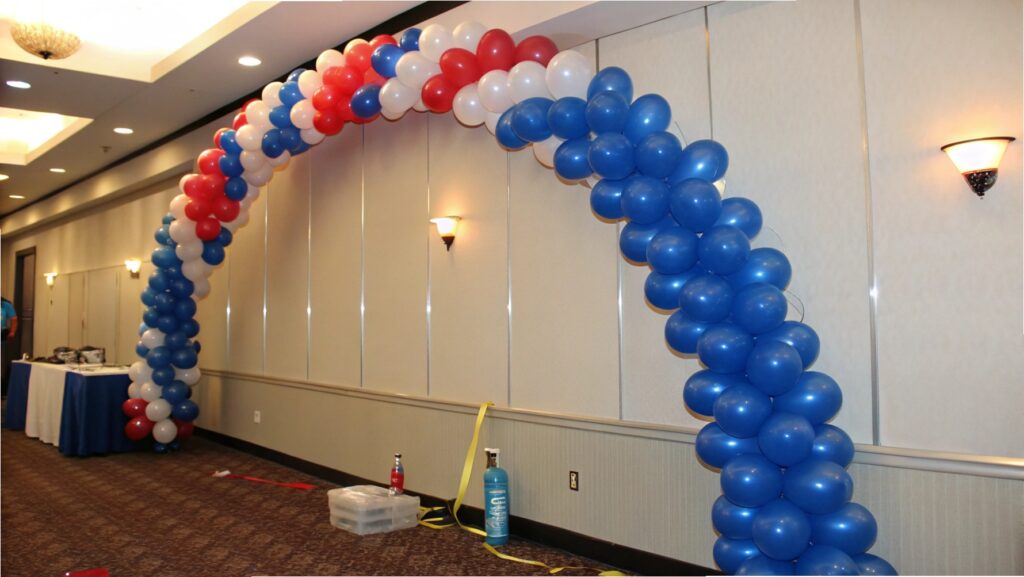
Creating a beautiful latex balloon arch1 is simpler than you might think. You need the right materials and some basic steps. By following a clear guide, you can confidently build an arch that makes any celebration special.
I want to share my experience and help you master the art of balloon arch creation. Let's walk through the process together, step by step, so you can achieve that perfect festive look.
What materials are needed for a DIY balloon arch?
Do you know what supplies you need for a DIY balloon arch2? Many people start planning an event and then realize they do not have all the right tools.
To build a great balloon arch, you need some key materials. These items help make sure your arch looks good and stays together. They also make the process much easier for you.
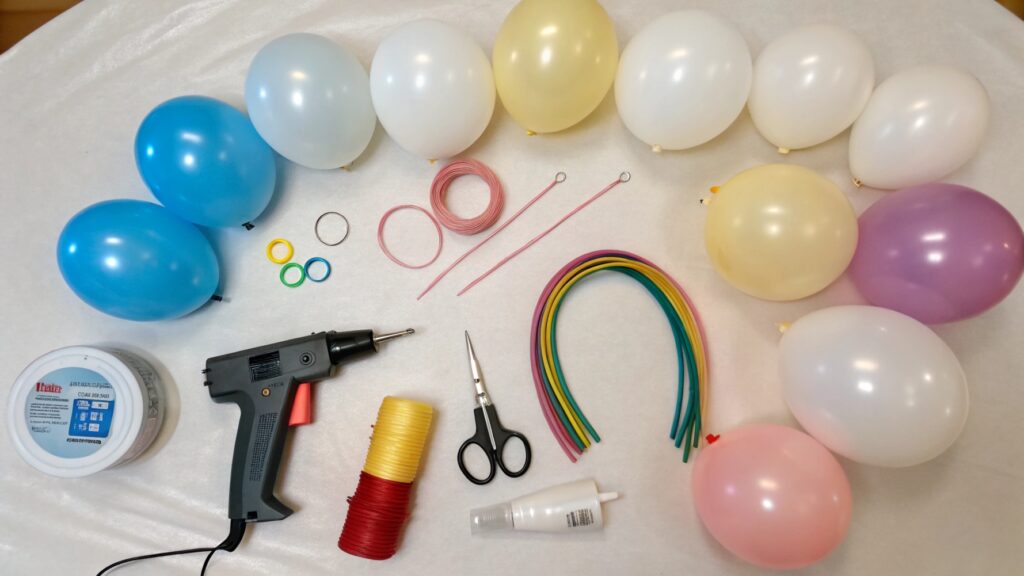
When I think about making a balloon arch, the first thing is always to gather my supplies. Just like Sarah Chen, a procurement manager, understands that having the right inventory is crucial for a smooth operation, I know that having all my materials ready saves time and hassle. Here is a list of what you will need:
Important Materials for Your Balloon Arch
| Material Type | Description | Why You Need It |
|---|---|---|
| Latex Balloons | A variety of sizes (5-inch, 9-inch, 12-inch, 18-inch) and colors. | Creates depth and visual interest in your arch. |
| Electric Balloon Pump3 | Inflates balloons quickly and consistently. | Saves time and effort, especially for many balloons. |
| Balloon Decorating Strip4 | A plastic strip with holes or a flexible wire. | Provides a simple way to attach balloons and shape the arch. |
| Fishing Line or Twine5 | Strong, clear line for extra security or alternative attachment. | Adds stability, especially for larger or outdoor arches. |
| Scissors | For cutting fishing line or balloon strips. | Essential for precise cuts. |
| Command Hooks or Wall Anchors | For attaching the finished arch to a wall or surface. | Ensures your arch stays securely in place. |
| Low-Temp Hot Glue Gun6 | For attaching smaller balloons or accents. | Helps fill gaps and add detail. |
Always choose high-quality latex balloons. As AIHUA BALLOON, we focus on safe, high-quality products. Inferior balloons can pop easily, ruining your hard work. Think about your color scheme7 and how many balloons you will need. For a standard 10-foot arch, you might use 100-150 balloons of different sizes. This range helps you get the full, lush look you want.
How do you inflate and size latex balloons for an arch?
Are you wondering how to get your balloons just right for an arch? Many people struggle with making their balloons the same size or inflating them properly.
Proper inflation and sizing are key to a full and beautiful arch. Getting this step right makes a big difference in the final look. It also makes attaching the balloons easier.
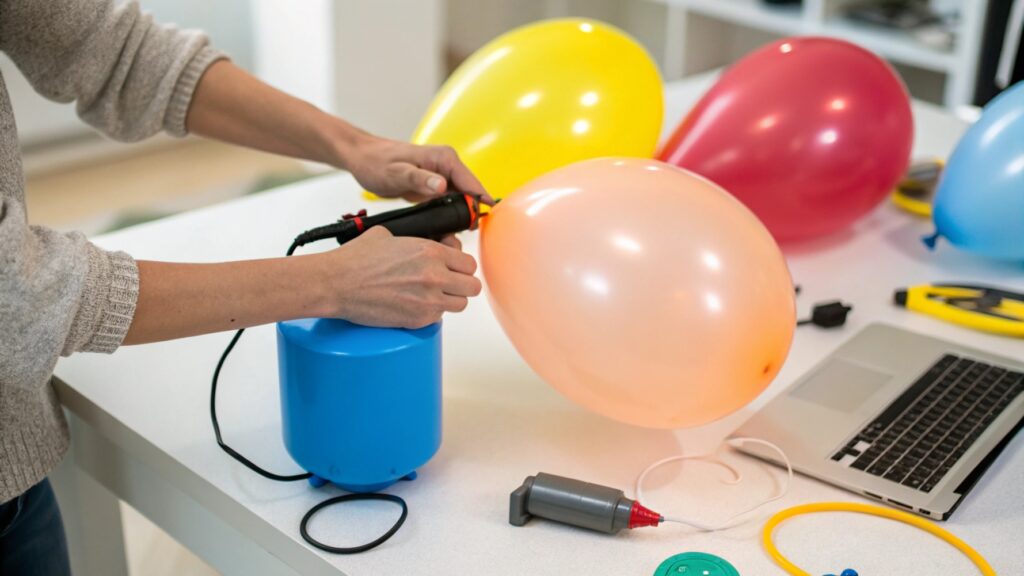
When I prepare for a balloon arch project, I always focus on careful inflation and sizing. This step is about consistency and variety. Just as Vincent ensures our balloons meet global safety standards, I make sure each balloon fits its purpose in the arch. Here is how I do it:
Steps for Inflating and Sizing Balloons
| Step No. | Action | Details | Importance |
|---|---|---|---|
| 1 | Use an Electric Pump | Attach the balloon to the nozzle and press the button. | Very fast, saves time and effort. |
| 2 | Inflate to Different Sizes | Do not inflate all balloons to their full potential. Make some 5-inch, some 7-inch, some 10-inch, etc. | Adds depth and texture; prevents a flat look. |
| 3 | Use a Balloon Sizer (Optional but Recommended) | A cardboard cutout with holes or a plastic box. | Ensures consistent sizes, especially for clusters. |
| 4 | Do Not Overinflate | Balloons should be slightly soft, not taut. | Prevents popping; allows flexibility for shaping. |
| 5 | Tie Knots Securely | Twist the neck of the balloon and tie a tight knot. | Prevents air from leaking. |
I typically inflate balloons to about 80-90% of their maximum size. This makes them softer and easier to work with, reducing the risk of popping when you attach them. For a varied look, I make sure to inflate a good mix of sizes. For example, if I am using 12-inch balloons, I will inflate some to 12 inches, some to 9 inches, and some to 7 inches. This creates a natural, organic flow. Keep your color scheme in mind as you inflate. I like to have larger balloons in my main colors and smaller ones for fillers or accents. This strategy helps me achieve a professional finish.
What are the best techniques for attaching balloons8 to an arch strip or frame?
Are you unsure how to get your inflated balloons onto the arch strip? Many people find this part tricky, often resulting in loose balloons or uneven arches.
Attaching balloons correctly is vital for a strong and beautiful arch. Good techniques ensure your arch stays together and looks professional. It also makes the whole process smoother.
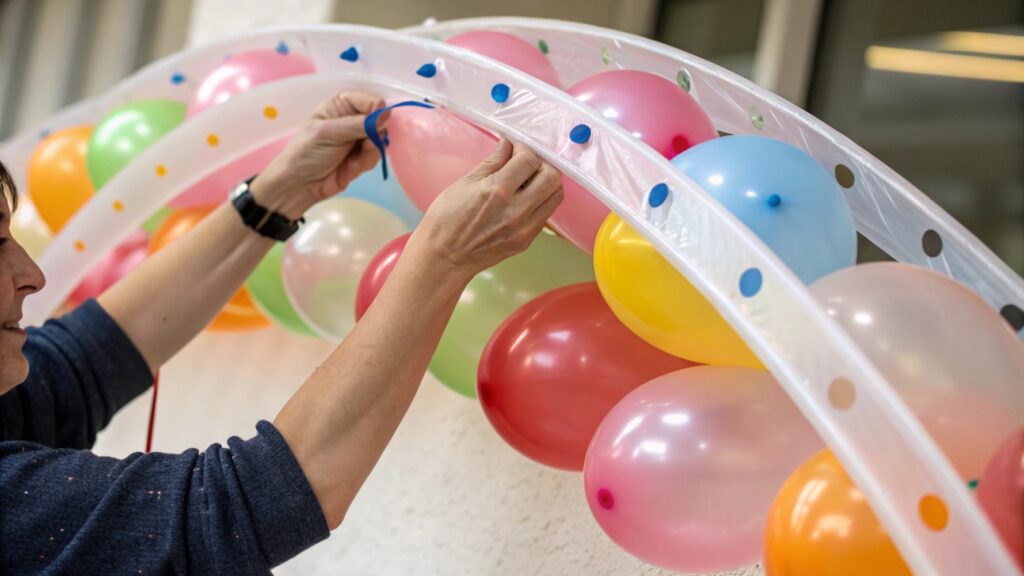
When I am ready to attach my balloons, I think about Sarah Chen's focus on reliable supply chains. I need a reliable way to make sure these balloons stay put. My goal is to create a seamless, full arch. Here is how I usually attach them:
Effective Balloon Attachment Techniques
| Technique Name | Description | Advantages | Best Use Case |
|---|---|---|---|
| Balloon Decorating Strip4 Method | Push the knotted necks of inflated balloons through the holes on a plastic strip. Alternate colors and sizes. | Easy, fast, no extra tools needed. | Most common for beginners and indoor arches. |
| Duo/Quad Clusters9 | Tie two inflated balloons together at their knots (duo). Then tie two duos together to form a quad. Use fishing line to tie quads to the frame. | Creates a fuller, more professional look; adds volume. | Preferred for very full arches and larger structures. |
| Fishing Line Wrap | Loop fishing line around the knots of balloons and tie them directly to a frame or existing balloons. | Very secure, good for outdoor arches or heavy use. | When extra stability is needed. |
| Low-Temp Hot Glue | Gently apply a small dot of low-temp hot glue to secure smaller filler balloons or accents between larger ones. | Fills gaps, adds detail, creates a seamless look. | Finishing touches and adding small accents. |
I often start by pushing my largest balloons through the strip, then filling in with medium and smaller ones. For a really full arch, I make "quads" by tying two pairs of balloons together and then tying these quad clusters onto the strip or a frame using thin fishing line. This method fills out the arch nicely. I also like to twist the balloon necks together in pairs before attaching them. This makes it easier to work them into the strip's holes and helps them sit more securely. Remember, you can always add smaller 5-inch balloons at the end with a low-temp glue gun to fill any gaps. This gives your arch a complete, lush appearance.
How can you ensure your latex balloon arch is sturdy and long-lasting?
Are you worried your balloon arch might fall apart? Many people put in a lot of effort only for their arch to deflate or collapse too soon.
Making your arch sturdy and long-lasting is important. A durable arch stands up to the event and looks good throughout. It saves you from worrying about it during your celebration.
Ensuring the longevity of a balloon arch is something I take seriously. It is not just about looking good; it is about providing a reliable structure that lasts. Just as Vincent ensures AIHUA BALLOON products are high-quality and compliant, I make sure the finished arch is robust. Here are my tips for a durable arch:
Tips for a Sturdy and Long-Lasting Arch
| Action/Consideration | Description | Benefit |
|---|---|---|
| Use Quality Balloons | Start with strong, reputable latex balloons. | Less likely to pop or deflate quickly. |
| Proper Inflation | Do not overinflate; keep balloons slightly soft. | Reduces popping, allows for flexibility. |
| Secure Attachment Points | Use strong hooks, fishing line, or a solid frame for support. | Prevents sagging or collapse. |
| Avoid Direct Sunlight/Heat | Place the arch away from direct sun, heaters, or hot lights. | Prevents balloons from oxidizing, deflating, or popping. |
| Layer and Cluster | Build the arch by layering different sizes and creating clusters. | Creates a denser, more stable structure. |
| Consider Balloon Shine Spray | A special spray that protects balloons from oxidation. | Keeps balloons shiny and vibrant longer. |
I always remind people that the environment plays a big part. If your arch is outside, make sure it is not in direct sun. Sun can make latex balloons cloudy and pop faster. Use strong fishing line to tie the arch securely to its anchors. For example, if I am attaching an arch to a wall, I use strong Command hooks or even small nails, depending on the wall type and if it is temporary. I prefer to make my clusters tight, pushing the balloons close together on the strip. This dense packing helps the arch hold its shape better. Finally, a trick I learned is to use balloon shine spray10. This really helps to keep the balloons looking fresh and vibrant for a longer time, especially for events that last several hours.
Conclusion
Creating a beautiful balloon arch is a rewarding project. By gathering the right materials, inflating balloons11 correctly, attaching them securely, and taking steps to ensure durability, you can build a stunning centerpiece. Your event will be more colorful because of your effort.
-
Explore this resource to understand the basics of creating a stunning latex balloon arch for your events. ↩
-
Find a step-by-step guide to help you successfully create your own DIY balloon arch. ↩
-
Learn about the benefits of using an electric balloon pump to save time and effort in your balloon arch project. ↩
-
Discover how a balloon decorating strip can simplify the process of creating your balloon arch. ↩ ↩
-
Find out how fishing line or twine can add stability to your balloon arch, especially for outdoor events. ↩
-
Explore the advantages of using a low-temp hot glue gun for adding details to your balloon arch. ↩
-
Learn how to select a color scheme that enhances the visual appeal of your balloon arch. ↩
-
This resource will guide you through effective methods for securely attaching balloons to your arch. ↩
-
Discover how using duo and quad clusters can create a fuller and more professional-looking balloon arch. ↩
-
Explore how balloon shine spray can keep your balloons looking vibrant and fresh for longer. ↩
-
This resource will guide you on the best practices for inflating balloons to achieve a perfect arch. ↩